Billing periods are created in Settings and then added to the course group. To set them up, proceed as follows:
- Click on the “Settings” tab in the left menu after logging into the app and then click on”Billing periods”

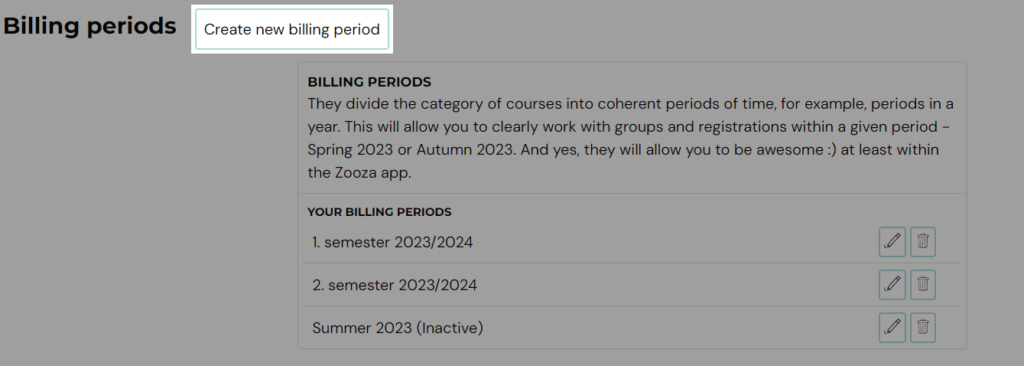
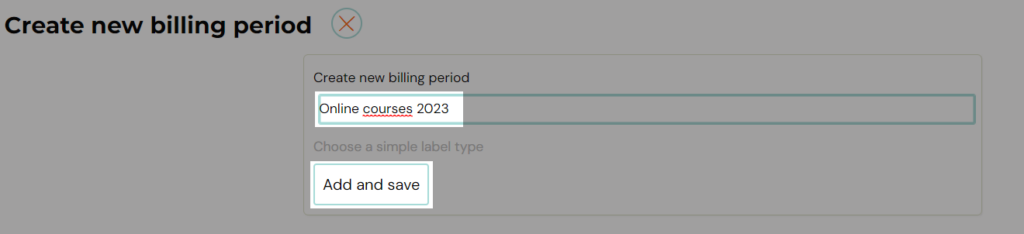
- Click the “Create new billing period” button at the top of the screen
- Enter the name of your billing period in the blank field and click Add and Save
The billing period created in this way will be displayed in the list where you have the option to:
- edit its name – pen icon
- set active period – pen icon
- delete – bin icon
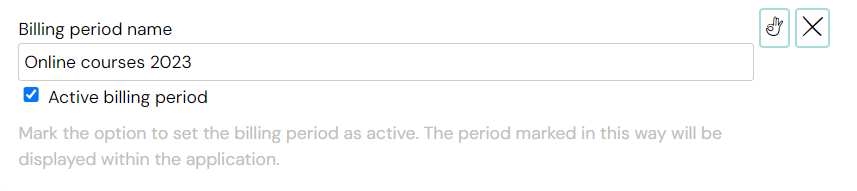
Active billing periods will also be displayed in the menu when creating/editing a course group or transferring registrations. You won’t find inactive periods there. See the documentation for more information on the settings.

Note: All created billing periods and the classification of registrations within them are displayed only to the course organizer. Clients do not see this setting.