The registration form in its basic form is displayed on the page with all the courses you have created and offered for online registration with their basic fields to fill in or pre-configured display of course information.
Basic fields in the registration form
In the form you will see the basic fields that your client must fill in when registering, which are:
- First name
- Surname
- Phone
- Note
- You can modify their display in the registration form by overwriting the text. At the course level, click Online Registration – Edit

- then scroll down to the Customize Registration Form section and enter new text in the field to change its display in the registration form. Save the change.

Registration form settings for the children’s course
- At the course level, in the Course Settings section, if you click the Edit button

- Under Additional settings, tick the For children checkbox and Save the setting

- the registration form fields on your web page will automatically change from Name to Parent’s Name after this setting

Do you need more fields in your form?
You can enrich the form with so-called Extra fields
- The setting of the extra fields is done at the course level. After selecting a specific course, click the Edit button in the Extra Fields section

- Click on Extend registration form with extra fields. After selecting a specific extra field you need to fill in its name, only after this setting the field will be displayed in the registration form. The field name is arbitrary. Don’t forget to save your changes at the bottom of the page.


Note: Since the setting of the extra fields is done at the course level, you need to set the extra fields on all courses separately. Or create one course with all necessary settings and then Copy the course.
Registration form display settings
In the registration form on your web page you can set how you want and whether you want to display the course data. These are occupancy data, prices, button text and more.
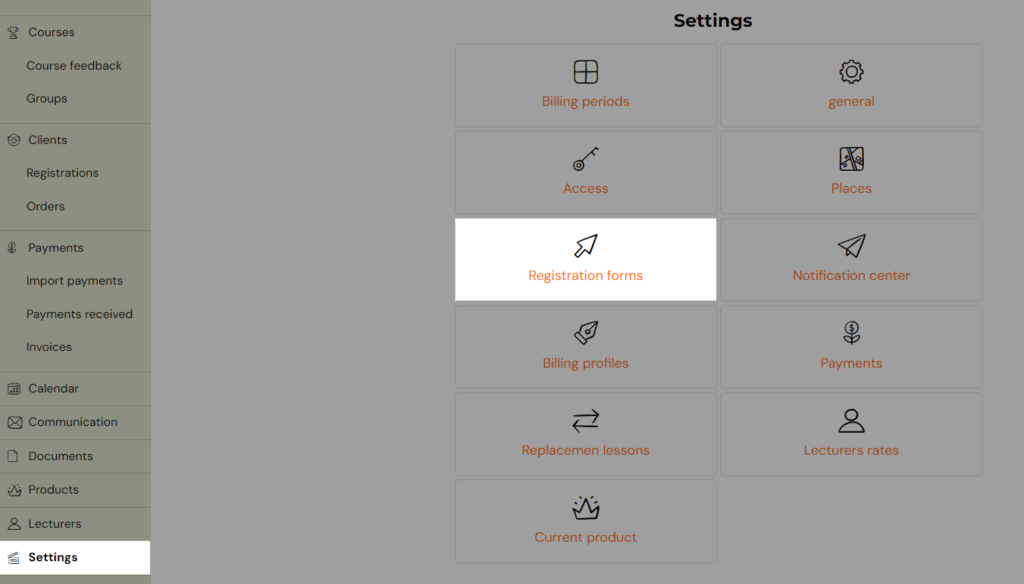
You can make this setting in the main Settings under Registration Forms – Registration Form.
- Choose your settings and Save

Note: In order to find out which display suits you best, we recommend that you try displaying them on the page and make a decision based on that.
View selected courses
You can also display the form with only some courses. That is, not in its basic view, which contains all the courses from your offer.
For exapmle: if you need to separate form to display only courses for children and another form will display only courses for adults.
In the administration of your site you need to insert the following script on the registration form page before the form script itself.
document.zooza = {
filter_courses: [111,222,333,444]
};
Enter the ID of the courses you want to display in square brackets. You will get the course ID in the application when you open the course from its link in the browser.

You can display the modified registration form multiple times on your website. This means that you make copies of the registration form and paste them on selected pages of your website.