To start working with the application, you need to create a menu of courses that your clients can sign up for. What types of courses can be created can be found in the tutorial.
To create a course offer, do the following:
- Log in to Zooza. (How to log in)
- On the left side of the screen, click on the Courses tab and click on the Create Course button

- Select the Courses menu type and then choose from the pre-prepared course menu
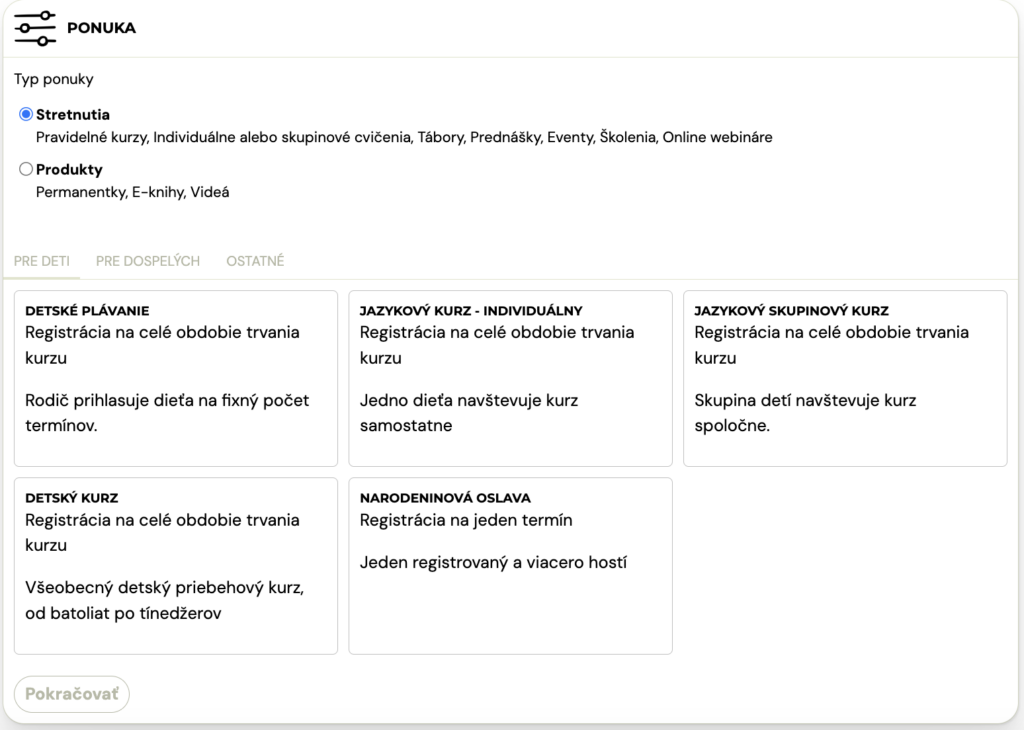
- We have prepared for you the most common types of courses divided into children’s, adult and other. Each course type has automatic settings in it, such as replacement lessons on, extra fields, etc. All course properties can be customized at any time after creation in the course settings.
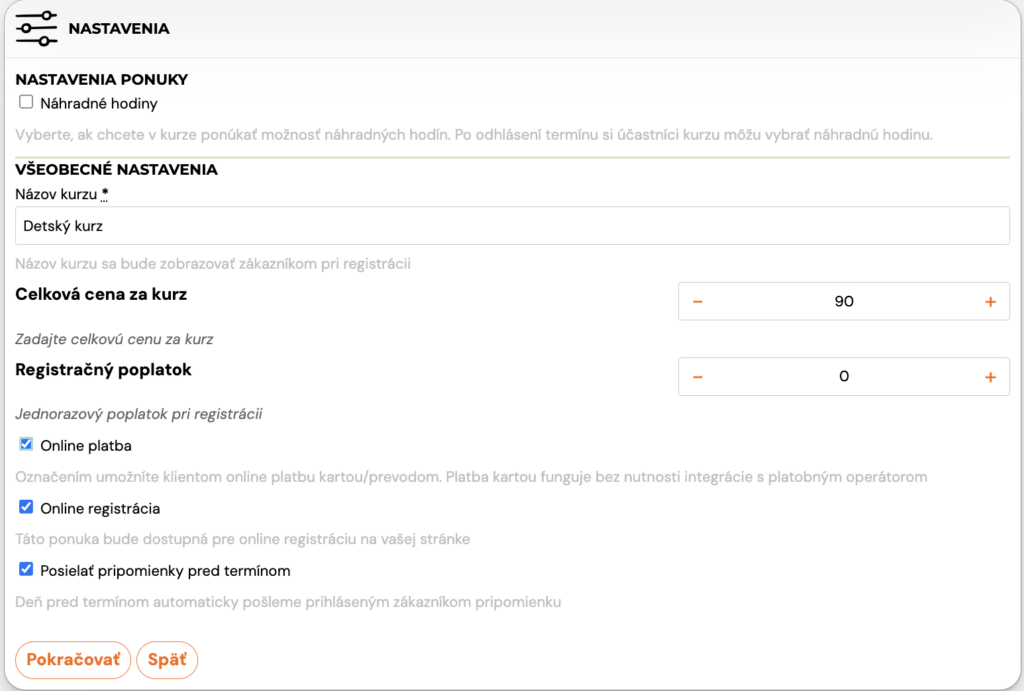
- Enter the name of the course. The name can be anything you like, just as you are used to calling the course. At the same time, it is good if your client will be able to navigate by such a name and choose the right one for him or his child.
- If the type of course allows, decide if you want to offer replacement lessons. You set their selection and specification after creating the course. More information can be found in the manual.
- Select a payment method. We recommend that you have the Online Payment option enabled, which guarantees payment directly when clients register. Please refer to the manual for more information on payments.
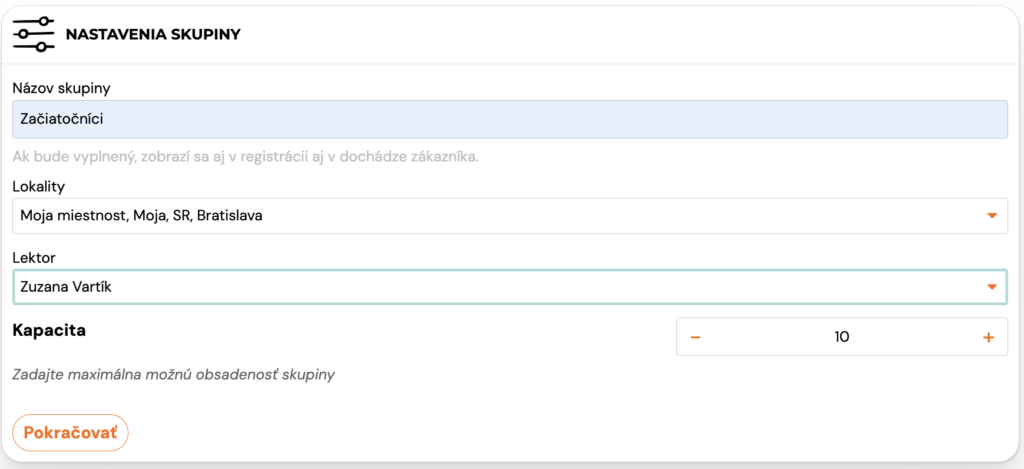
- Then create the group(s) according to your wishes by clicking the Add button and fill in the required data for the group. You can create multiple groups at once. Click Continue to go to the next step.
- Fill the group with dates according to your wishes, if you can determine them right away. Groups need to be filled with terms individually. If you don’t want to create dates, the group will be created as the group – Interested and you can add dates afterwards.
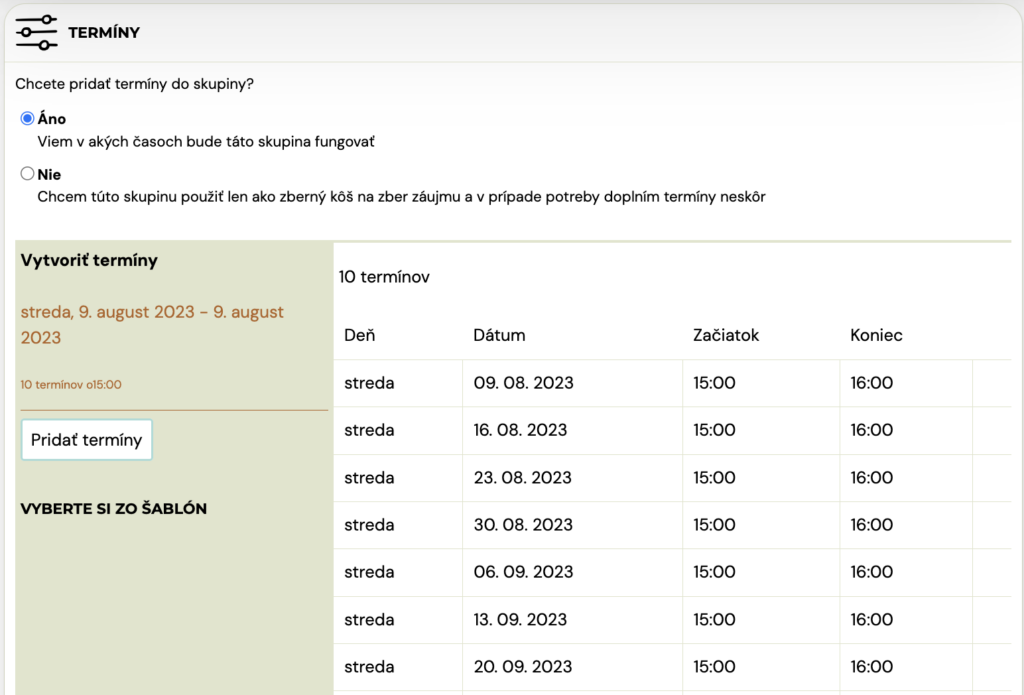
- You can create terms in several ways (detailed procedure how to create terms)
- Finish creating your menu by clicking the Save button

After saving, you have 3 options:
- View the offer on your website
- Manually add registration
- Go to course detail

After clicking on Go to Course, you can change or fine-tune the individual course settings according to your preferences.
Course detail
When you click on a course, you will be presented with a view of additional course settings, divided into clear sections. There are 6 parts in the course, with registration for the entire course period:
- Price and payment
- Online registration
- Replacement lessons
- Course settings
- Extra fields
- Rating
There are only 5 parts in a one-time course/event with registration for one term. There is a missing section on replacement lessons.
In the course/event with open registration there are 6 of them, but there is also no part with replacement lessons, as clients can sign up for individual dates at will. In addition, there is a Link Groups section, which can be used to offer individual appointments from multiple, linked groups and use the season pass. More about the voucher HERE.
By clicking the Change checkbox in each section, you can make additional settings and adjustments to the course.

Price and Payment
The price for the course is not filled in when creating the course, but only in the course details in the Price and Payment tile.
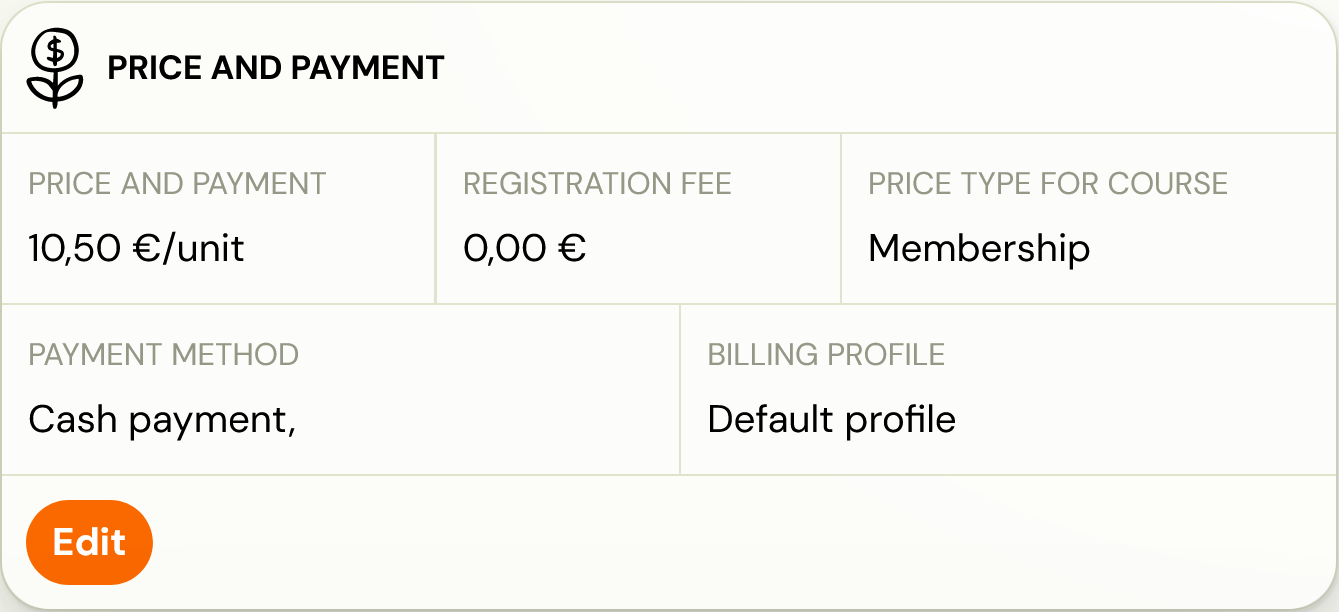
Price type for courses
For the course type Single Term Registration or Open Registration, you enter the unit price per term, or registration fee.
For the Full Term Registration course type, you decide how you want to accept payments from clients and how you enter the price for the course:
- Course Fees
- Member
For information on how to correctly enter the price for the Full Course Registration course type, please refer to this manual.

Payment frequency
In the Payment Frequency section, click Active to select the payment types you want to allow your clients to make within the course. For more information on payment types, see HERE 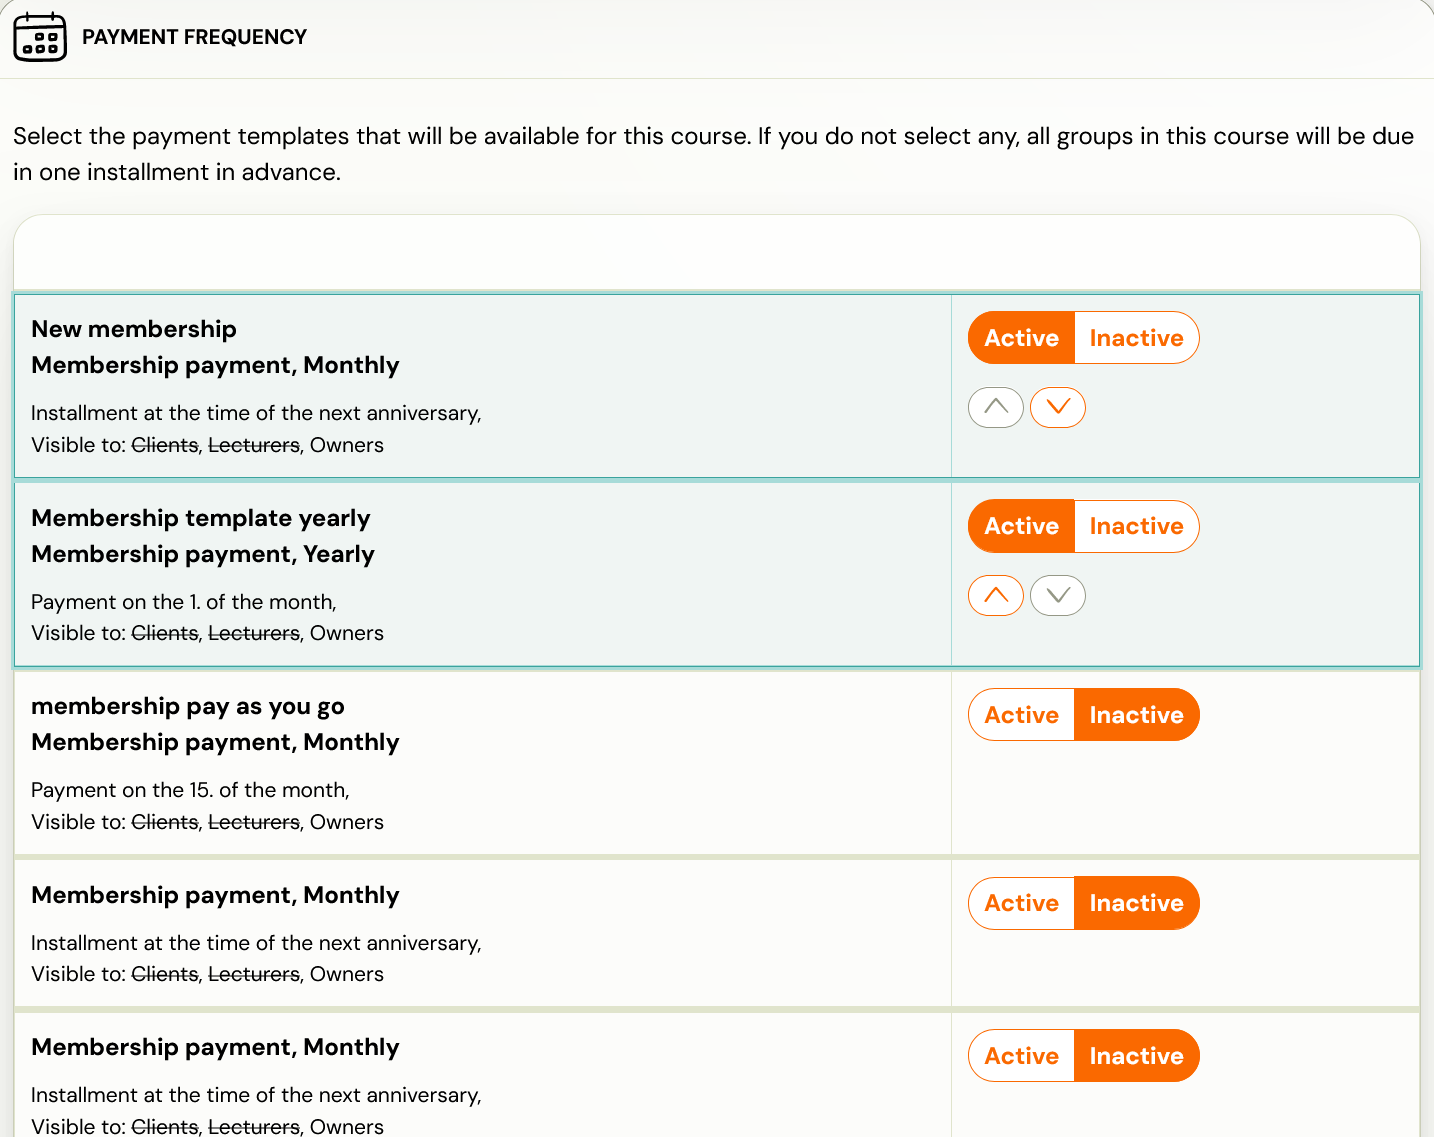
Payment methods
This section is where you decide how you want to receive the payment. The choices are:
- Online card payment
- Online payment by bank transfer
- Cash payment
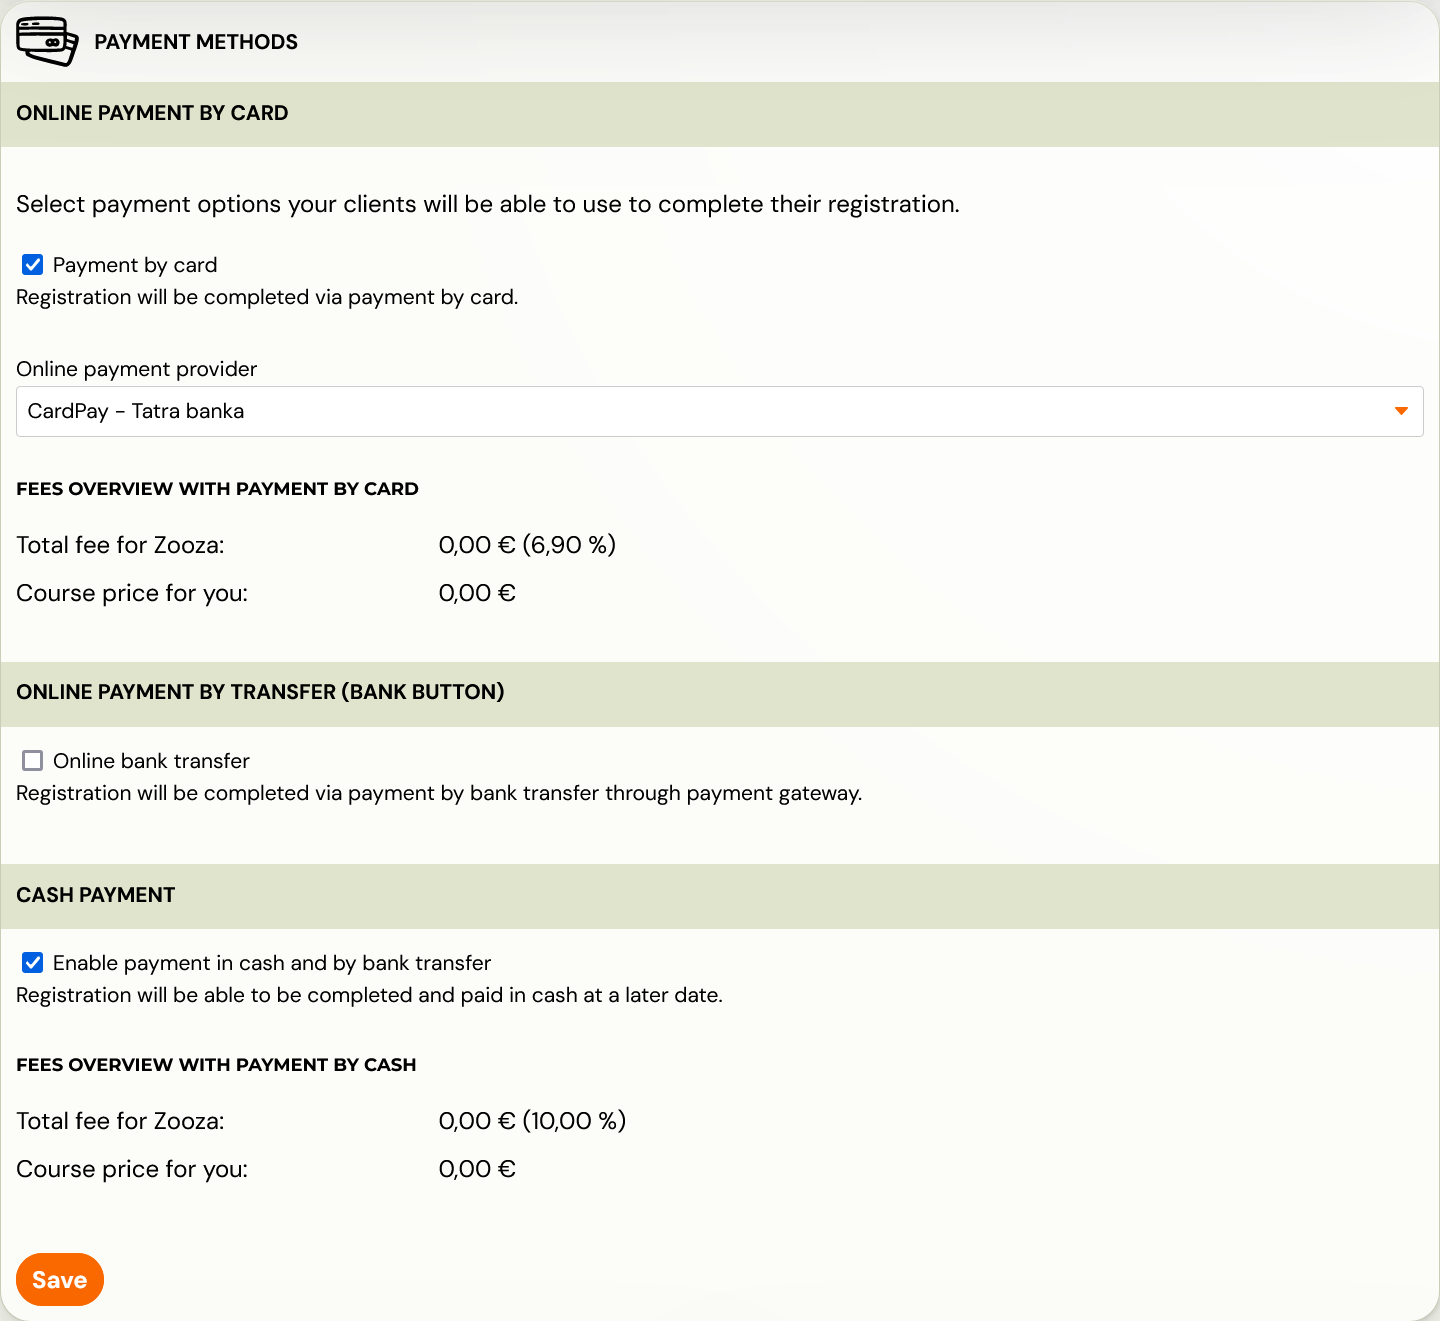
You can find out how these payment methods work and which one is best for you in the Payments for Course manual.
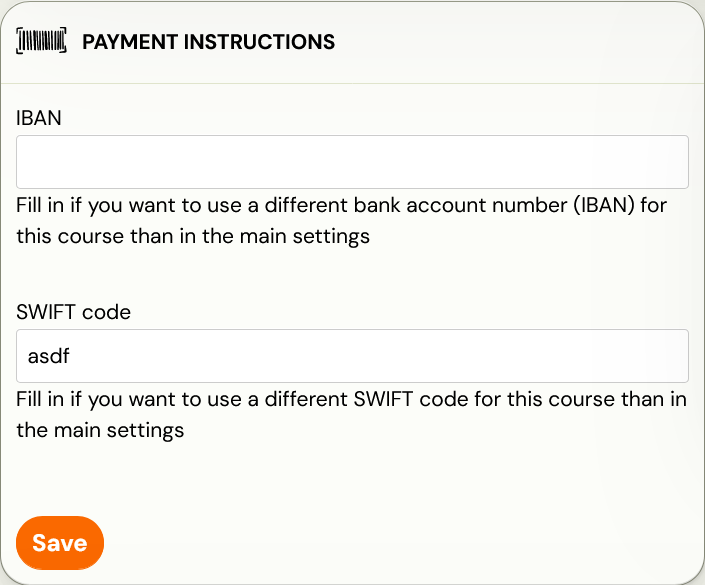
Payment Instructions
In the Payment Instructions section, enter the IBAN of the account to which you wish to receive payment for your course.
In the Billing Profile section, select the profile whose billing data you want to appear on your clients’ invoices. You set up the billing profile in the main settings of the application.
Note: Only fill in the Billing Profile field if you want the amount for the course to be sent to an account other than the one you entered in the main settings, under General Settings.
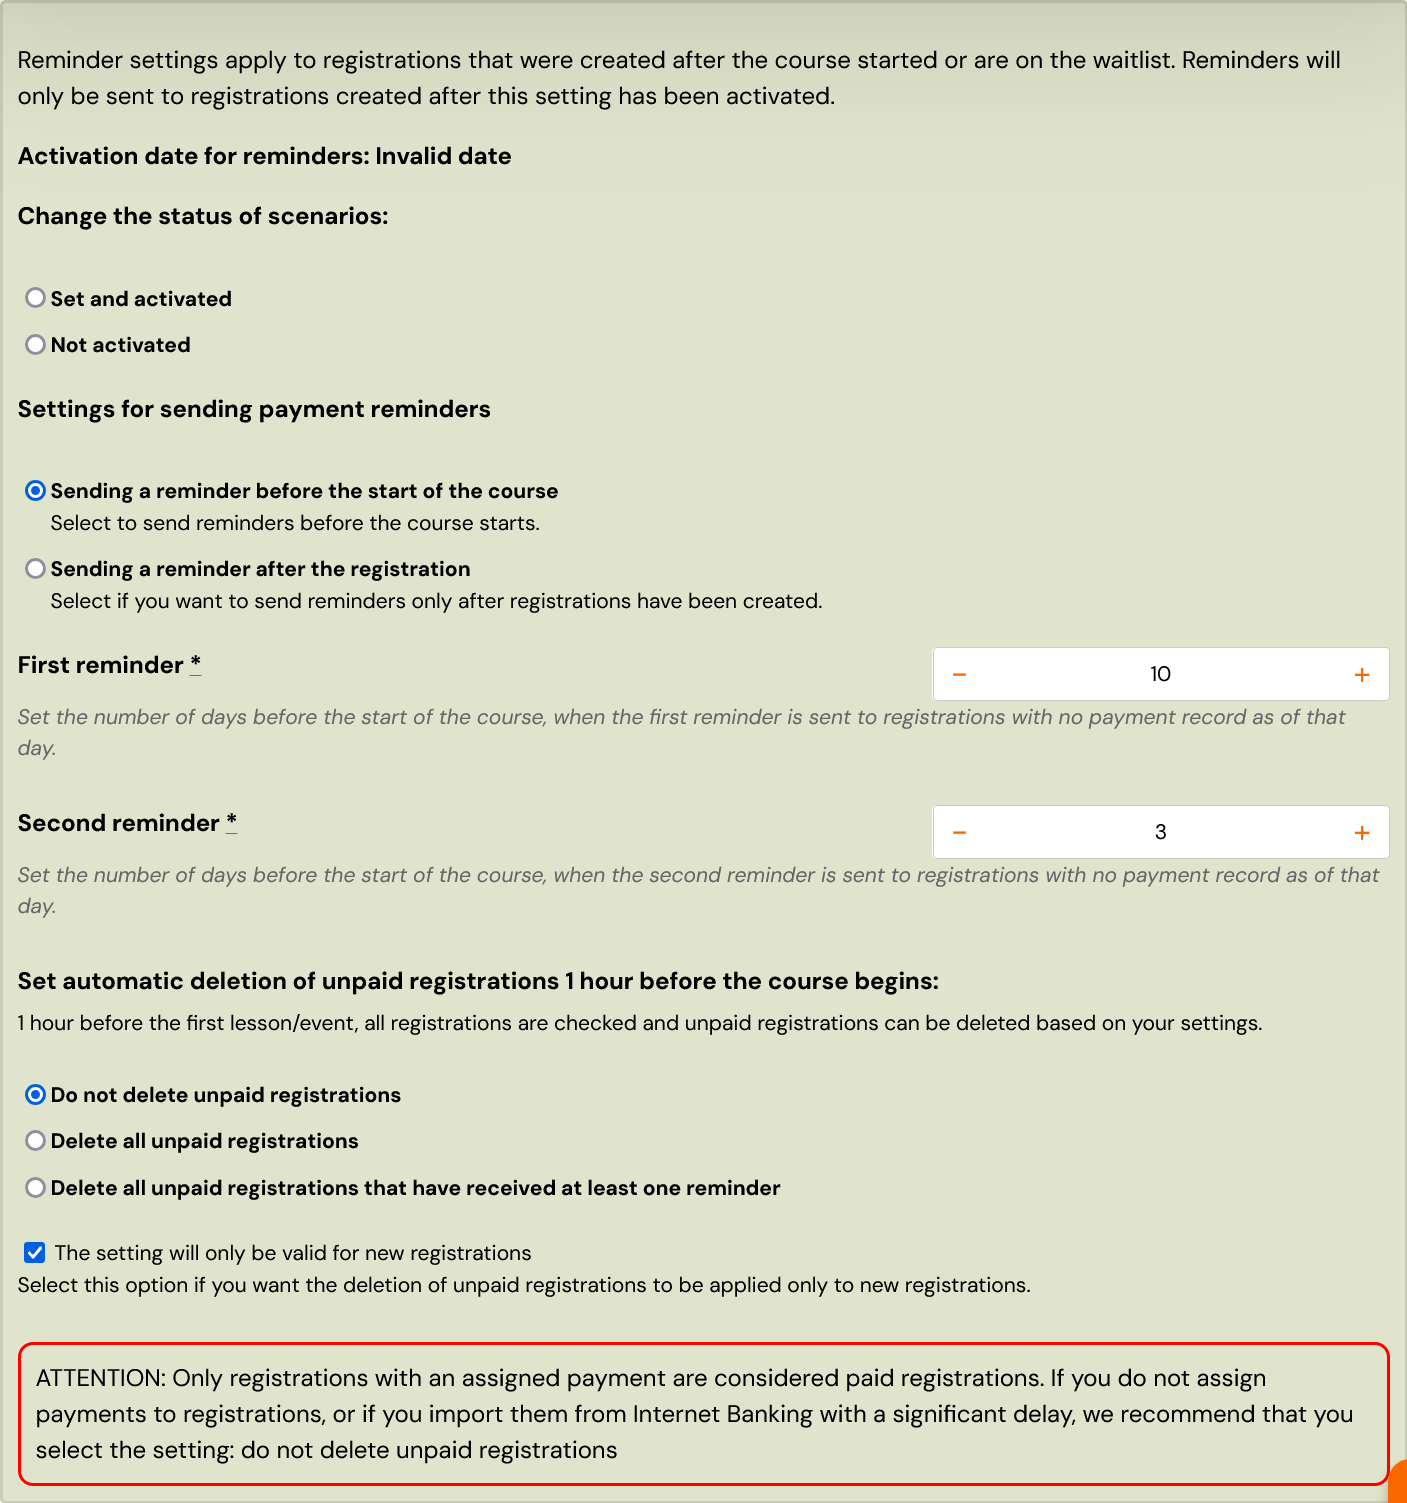
Payment Reminders
In the Payment Reminders Settings section, click the Change button
Clicking this button will open a table for setting reminders.
In this setting, you have the option to set reminders to be sent and to set up automatic deletion of registrations. After making changes in this section, you need to click the Save button directly in the section. More information on the comments can be found in the documentation.
Online registration
In the Online Registration Settings section, set it to display, and send automatic emails to customers. You create the template for this automatic email in the Communication tab. For a more detailed description of this functionality, see HERE
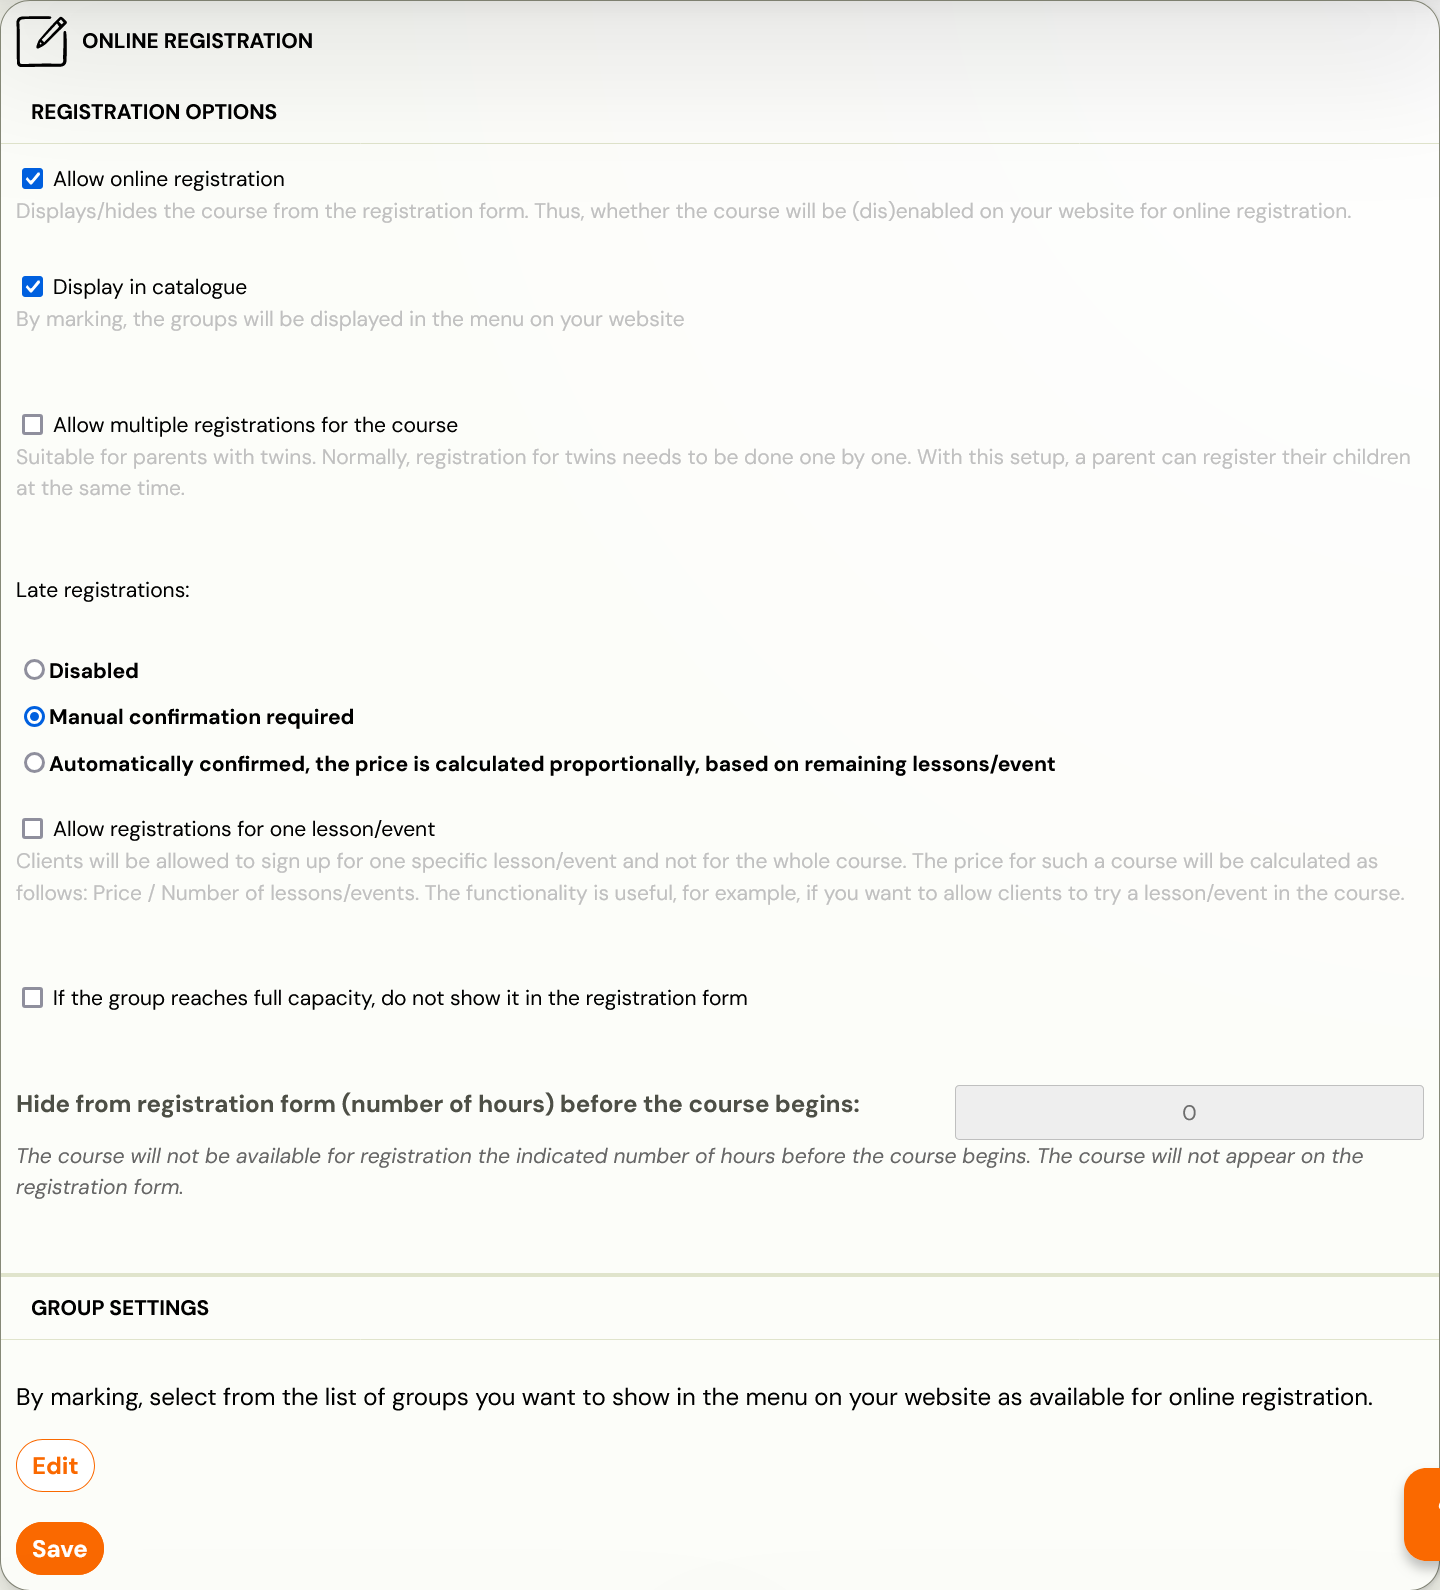
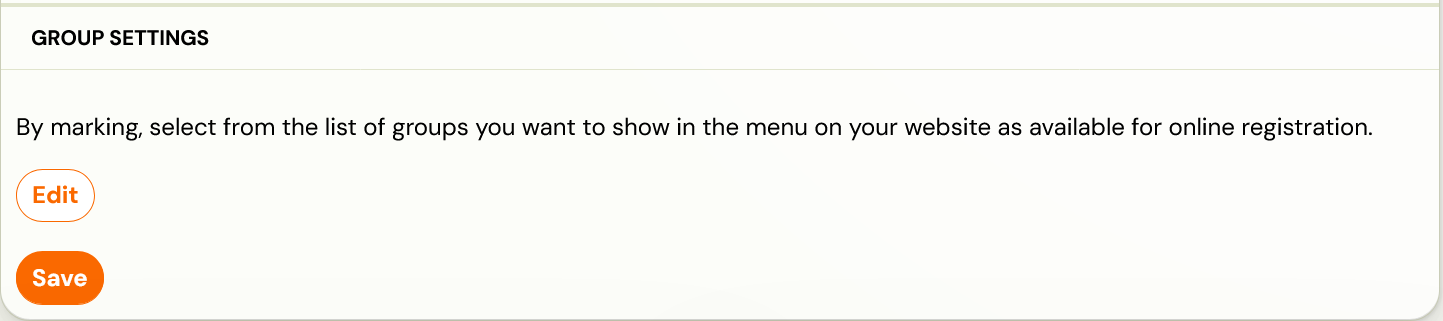
Next, set the groups you want to display in the menu on your website as available for online registration.
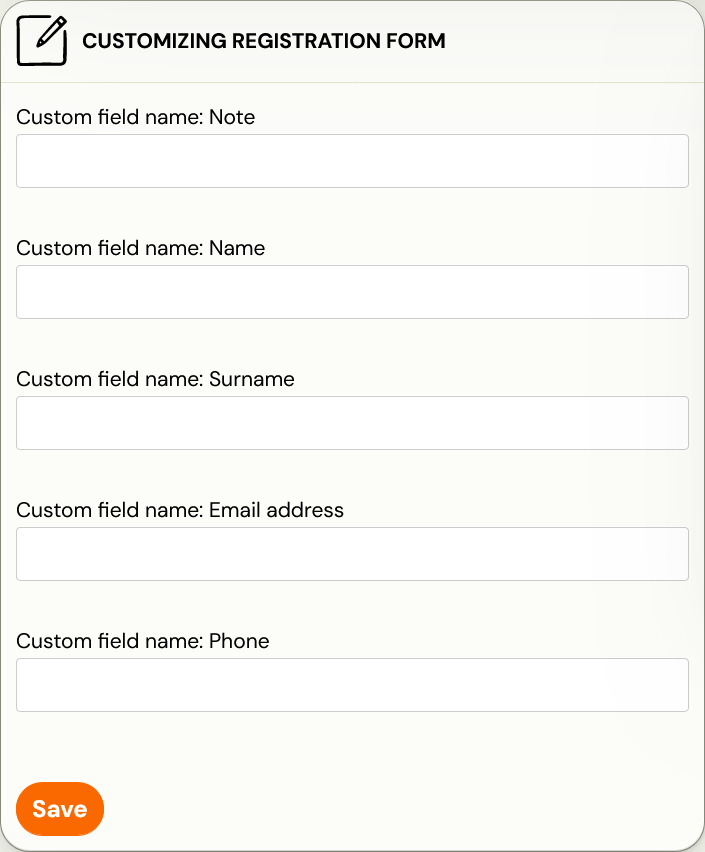
If you need to use a different field name on the registration form for this course, complete the fields in the Customizing the Registration Form section.
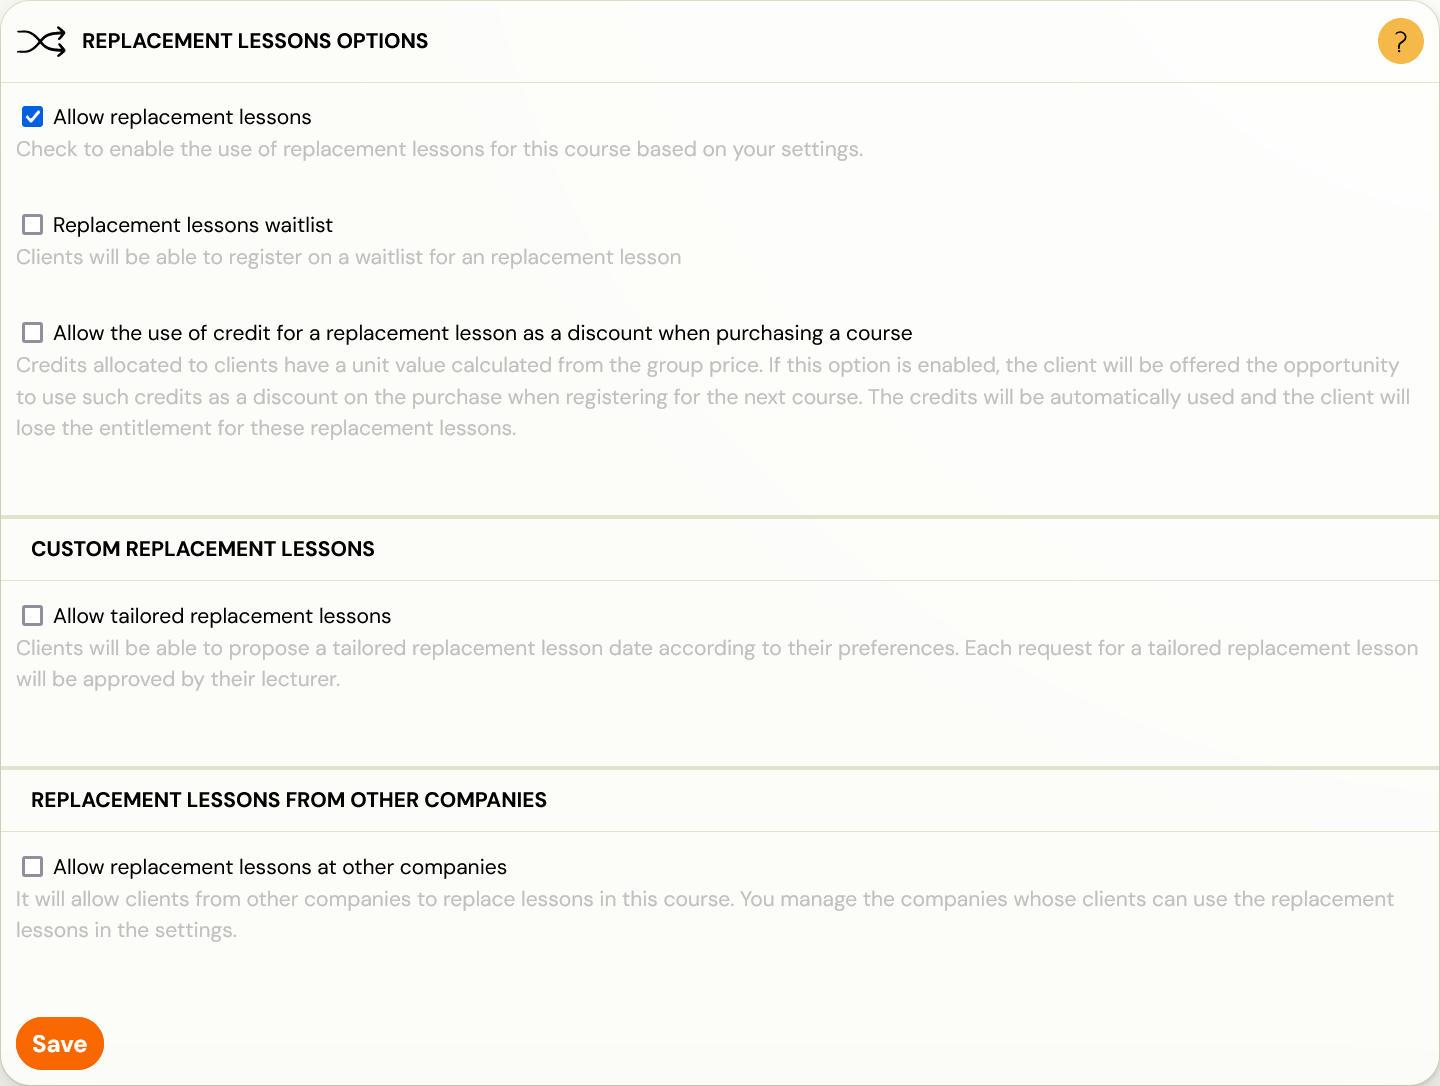
Replacement lessons
In the Replacement lessons section, set whether you want to allow them, whether you want to allow custom make-up hours, automatic approval, a waiting list, the number of hours, and the location for applying make-up hours (only within this course, by choice, or only in the group the client is enrolled in). Clicking the Synchronize button after saving will cause any changes made within the replacement hours to also be granted to existing registrations within the course. For more information about the replacement lessons please see HERE.
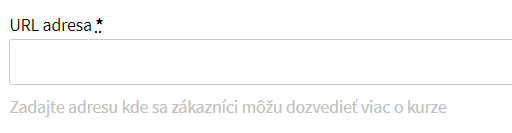
Course settings
In the URL address field, enter the address to the page where the course description is more detailed
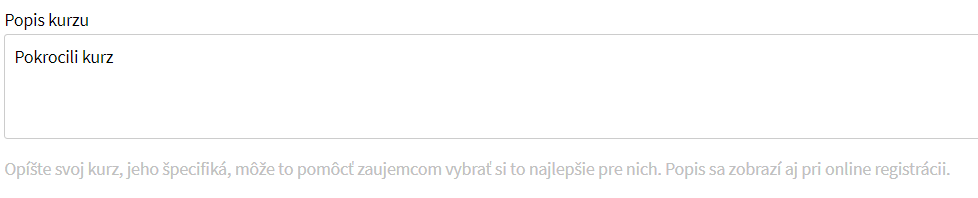
In the Course Description field, describe your course, enter its specifics so that the client can choose what is best for them. This description will also be displayed during online registration.
Additional settings
In the Registration Type section, you may, or may not, change the course type.
Note: In this section you can also see what type of course you entered in the previous step, i.e. whether it is a One-Time, Term or Open course. By changing the registration type, you do not change the course type. Such a change can only be made by the application administrator based on your request sent to hello@zooza.sk.
Click in the Archive box and then save the settings to archive the created course from your list of courses in the application. For a more detailed description of this functionality, see HERE .

Click the For children box, the application will use different wording for some texts. For example, in the registration form, instead of Name, it will change to Parent’s Name.
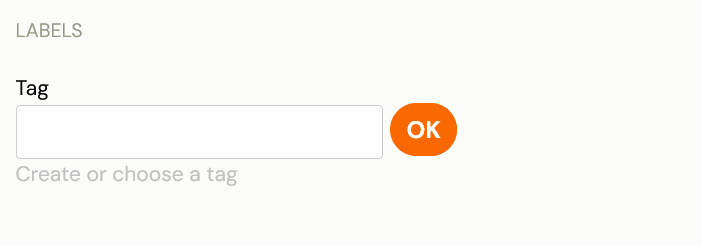
Labels and Colours
In the Label field, you may, but do not have to, enter the name of the category in which you want to include this course. This tag will only serve for your better orientation among the created courses – you can set a filter for searching among the courses accordingly. To confirm the tag setting, click OK next to the checkbox itself. All information about labels and tags you can find in this manual.
Set your course colour to help clients better navigate your courses. For example, a course for 3-4 year olds would be “Zooza Orange” and your client will quickly visually find on the calendar that you offer this type of course on Tuesdays and Thursdays.


Gallery
On the bottom of the page you can find Zooza Sites section with gallery that will be visible on a course detail on your Zooza webpage.
Additional fields
At the course level, you can add Extra fields to the registration form. For more information on how to work with these extra fields, please refer to this manual. The extra fields are used to collect additional necessary information for you (e.g. age, allergies, level…).
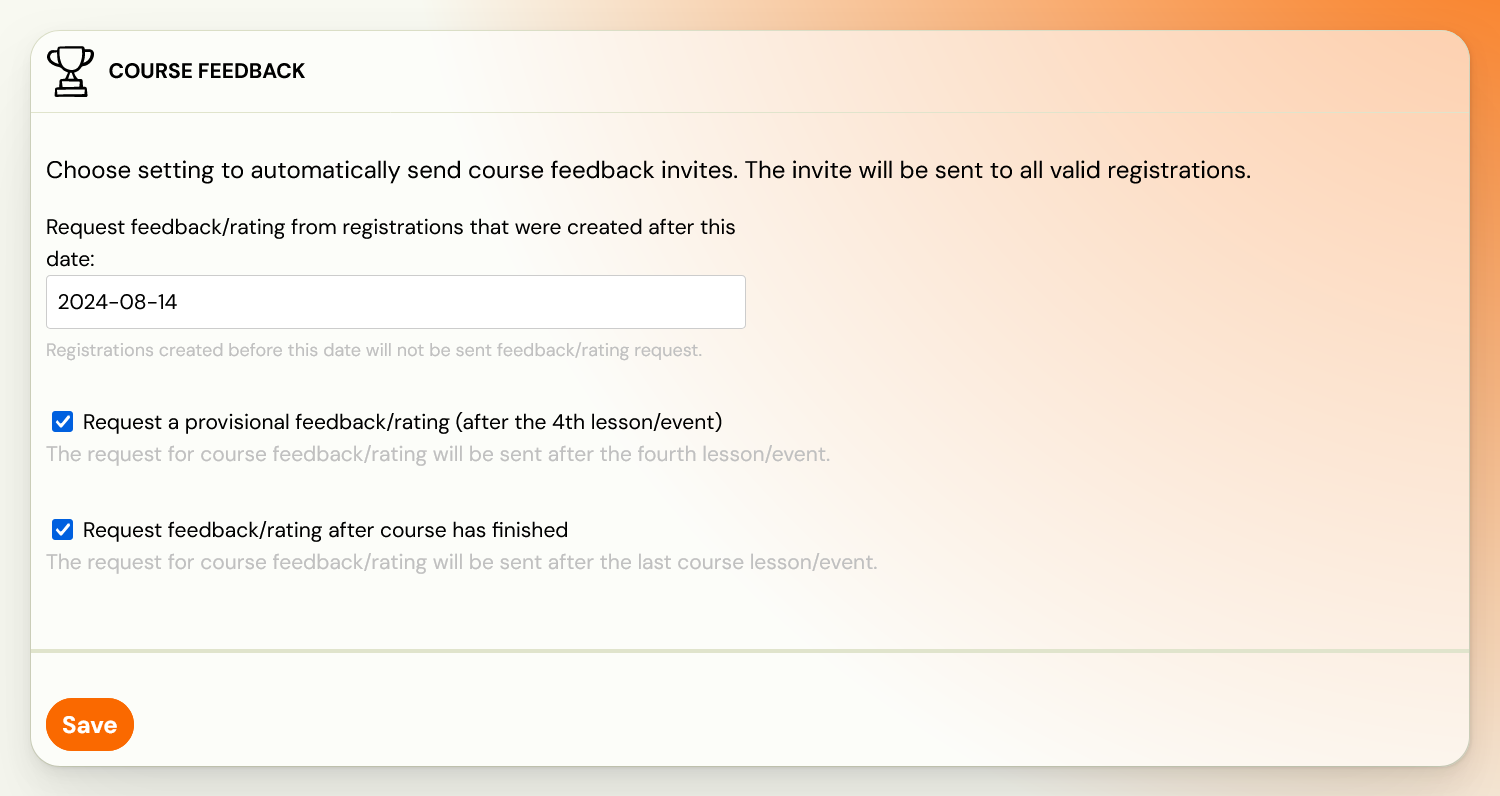
Feedback
In the section Setting up your course evaluation, set whether and when you want the system to automatically send your clients a form asking them to evaluate your course.
Please check all your settings and if you are happy with them, click the Save button at the bottom of the screen.
You can change all of the above settings at any time by clicking on the name of an already created course in the Courses tab.
Note: For a course created in this way, continue with the group and term settings.